August 29, 2011

And There Were Three...

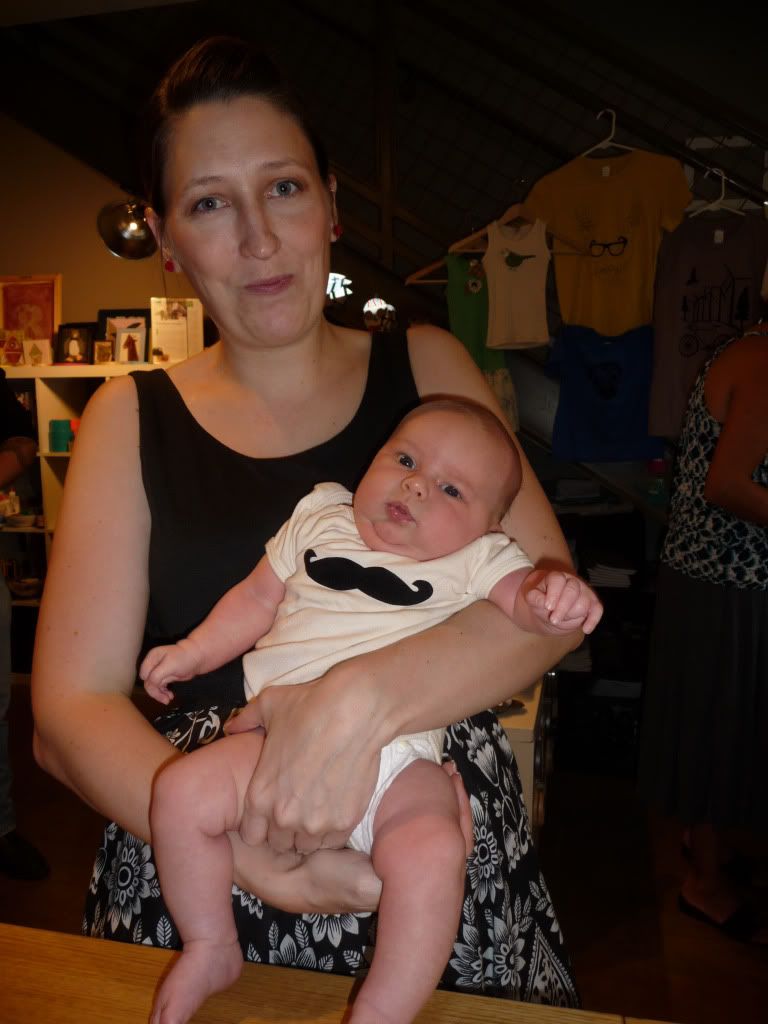
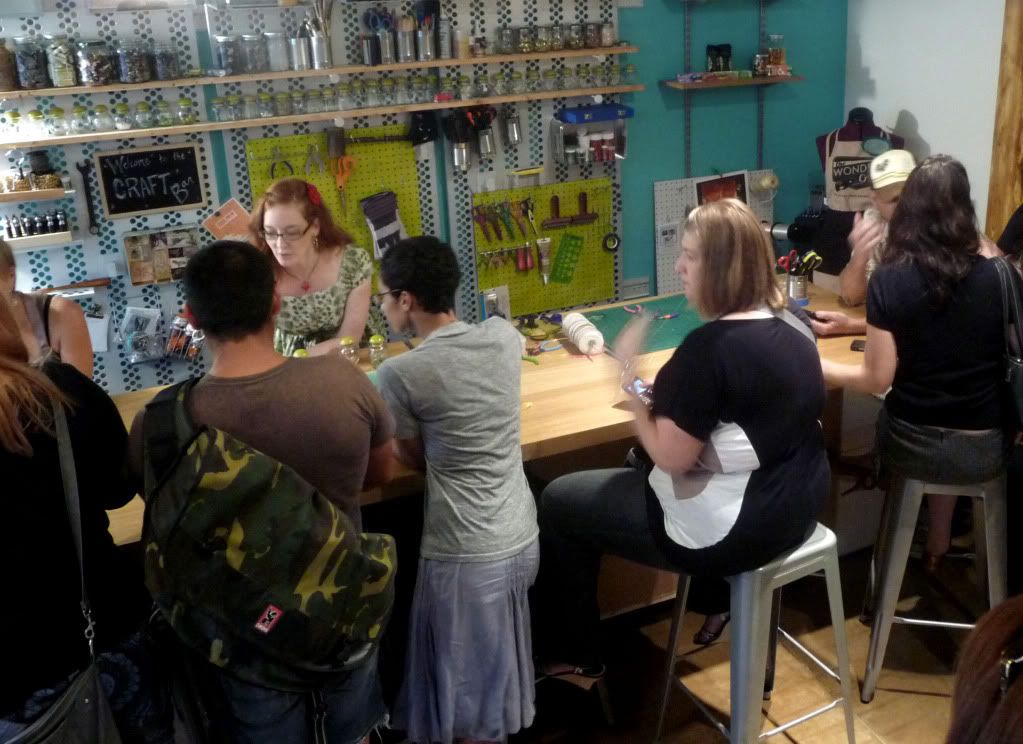
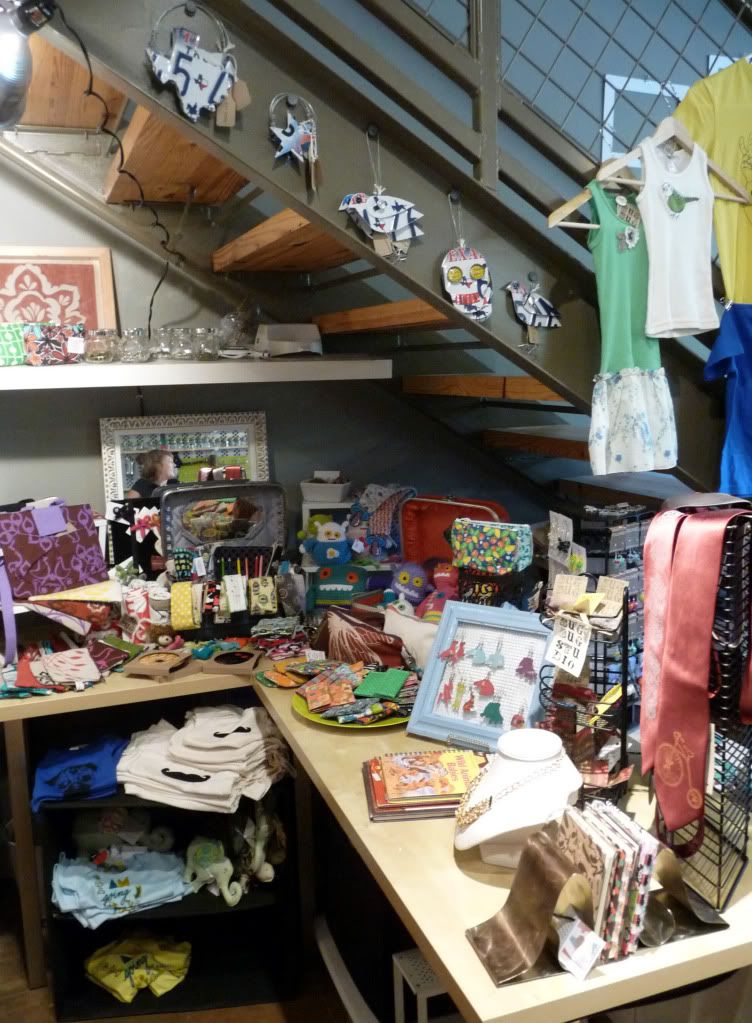
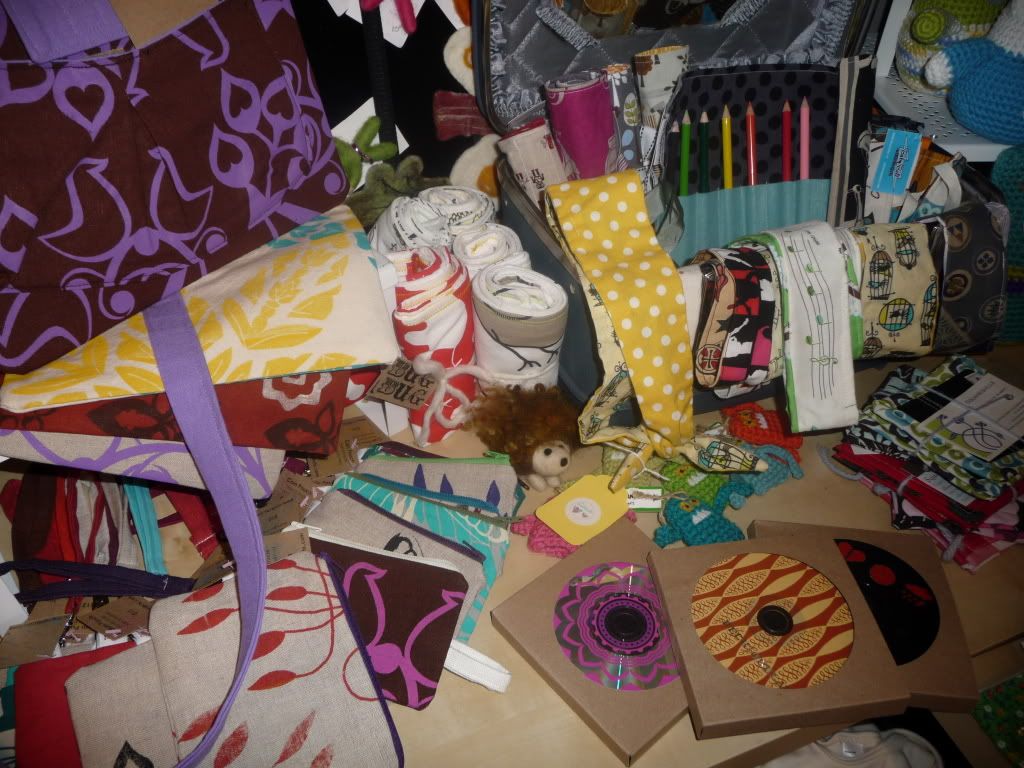
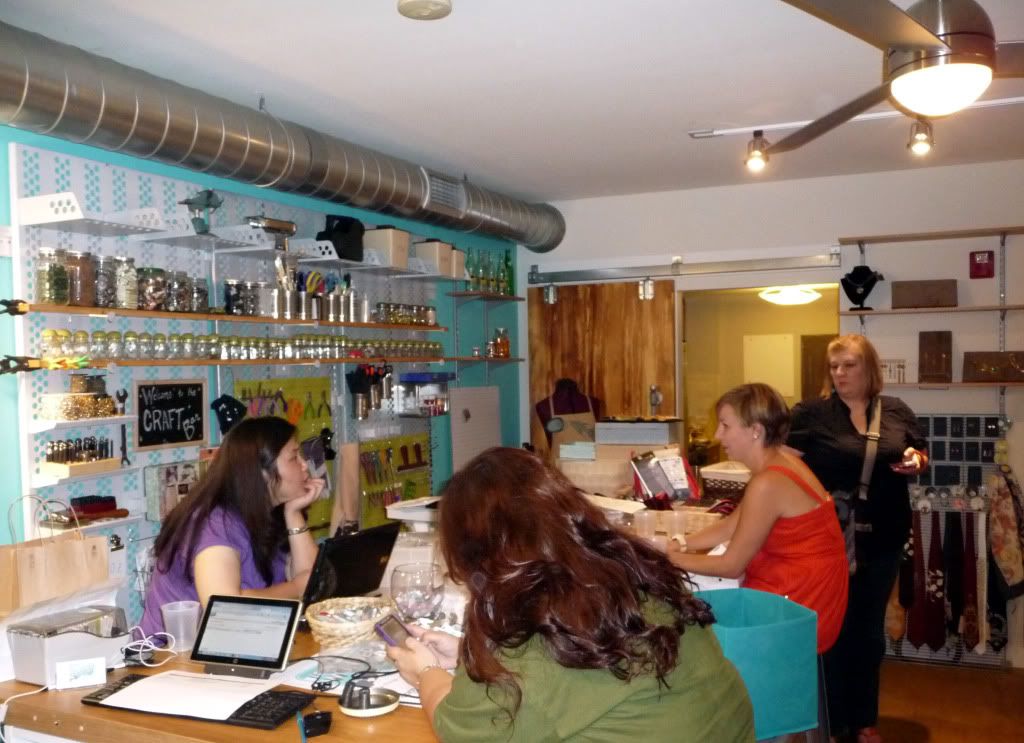
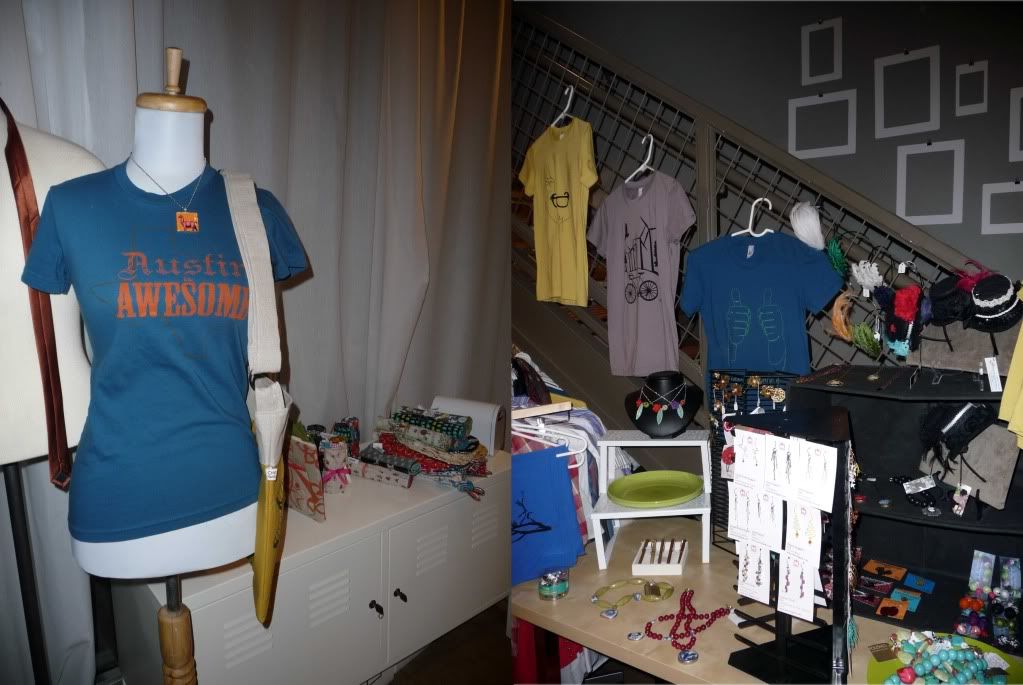
So the blog may be a little slim again this week because my two awesome little sisters are coming to visit! I'm sure I'll have some adventures to share next week as we intend to explore all things Austin yet again. We'll also be doing a little consignment shop tour and craft day so I'll hopefully have some fun new projects to share as well.

I've always been fond of this old picture of the three of us with my grandpa at the ranch in Nevada so I thought I would share it with you.

Happy Monday, have a great week everyone!

August 26, 2011

Get Hammered @ The WonderCraft

Newborn baby and family made their second outing into the real world (outside of hospitals and shopping at Target) last night to visit the WonderCraft fashion event "Get Hammered". Our first venture was Austin Flea at the Highball back in July. We figured being a crafty family we better start the kid off early. For a few hours last night new mom and dad were able to enjoy a few cocktails with friends while baby Gabe enjoyed the stimuli of new sounds and color.

Gabe sported a mustache onsie by Beth of Paired Hearts in support of the handmade goods sold at the WonderCraft.


The WonderCraft hosted artist Teresa Basa and her beautiful collection of jewelry for Austin fashion week. Teresa was originally born in Chili, then moved to California and currently has a studio in Round Rock, TX. Her jewelry is made of traditionally dyed Chilean horsehair, copper, brass, recycled silver and re-purposed leathers. You can find her products online at teresabasa.com, at Parts & Labor or the Mexic-Arte-Museum here in Austin.


The "Get Hammered" event allowed guests to create their own personalized metal stamped jewelry in demonstration of the WonderCraft's new Craft Bar menu of make-and-take projects now available to the public. You can find a full list of the standard make-and-take projects available at the WonderCraft HERE.


This is the adorable metal stamped necklace I made. It is a play off my son's and my initials, TG and GT. I love how it turned out with the letters highlighted in marker giving it an antique look.


In addition to Teresa Basa the event featured several other vendors and artists including specialty sodas by Rollerfeet Sodas (now available at the WonderCraft), CHOCBite build your own candy bars, and Christie Mathis Ultralicious Photography.


Hubby and baby hanging out while I made jewelry and chatted with friends. I had to laugh at the fact Gabe kept himself content by eating his fist half the night because we forgot his pacifier. His dad went home with a huge slobber spot on his nice shirt.


Here is a preview of the awesome goodies available for sale at The WonderCraft including my recycled license plate ornaments and our new CD coaster sets featured below. Make sure to stop by and check out all the amazing handmade products available for sale from artists such as GemJunkie, Polished Two, Craft Chi, Paired Hearts, Baby Bolt, Lip Glossery and many more.


August 25, 2011

Airstream Love

I have always wanted an airstream trailer in my back yard to makeover into a luxurious office space. If you have too here are some beautiful photos for inspiration...


And we can't forget our own local inspiration...the Wondercraft

August 24, 2011

Fall Fair Preview

Check out this video by Hannah featuring the Fall Fair artist that will be showing at the Cafe Medici on Sept. 11th...including me! Also, visit the Facebook event by clicking HERE for more info and to see who's attending.

Handmade & Vintage Fall Fair at Caffe Medici from Hannah Stoney on Vimeo.


August 22, 2011

DIY Project: Shutter Displays Part I

As promised here is another DIY project I just finished for my booth display. It was really easy to make and works great to display my vintage game jewelry. I inherited these two small shutters from some friends of mine and they have been sitting in the garage for two years. You can find shutters for cheap at second hand stores, yard sales, or Craigslist. You may also be lucky enough to find a good pair of shutters or shutter closet doors on the side of the road during a large item city wide dump or house renovation.

What you need:
  • 1-2 pairs of window shutters (Size depends on what you intend to display and how much. You can also use wood shutter closet doors and cut them down to make larger table top displays)
  • screw driver
  • hinges and screws (if your shutters don't already have them)
  • screw hooks or string
  • paint (as necessary to spruce up or change the color of your shutters)

To start you'll want to clean your shutters and paint them as needed. Mine came with a natural vintage white finish,which I liked, so I left them alone. However, if you aren't as lucky to find something you like as is you can create your own vintage finish or paint them bright, fun colors like the samples below. If your shutters didn't come with the original hardware you'll need to purchase the appropriate size hinges before completing the next step.

Depending on how many shutters you have (2, 3, 4, etc) you'll install the hinges to fold in the opposite direction. Example, I had two full shutters with two doors each already on hinges. I left those doors as is and put a third set of hinges on backwards to connect the two. That way it folded like an accordion as shown above. At this point you're pretty much done, all you need is a way to display your product.

I decided because I didn't want to ruin my shutters in case I wanted to use them for something else down the road I'd use string to attach my jewelry temporarily. With the string the jewelry stays in place and I can simply fold the shutters up and go. I am sewing a special bag from scrap canvas that helps keep the jewelry steady during travel. The string also allows me to have a space above for signage and pricing.

There are many things you can do to display products on shutters:
  • Install hooks and/or drawer knobs instead of string along the top and you can hang jewelry, clutches, ornaments, etc.
  • Put a wood back on your shutters, paint it to match and display note cards and/or paper goods like sample A below.
  • Put your jewelry on business cards, fold them and hang them on the shutters as I've done with the jacks in the photo above.
  • Fold your product and slip it through the shutters like they've done with the wallets in sample D below. This would also work for note cards, linens, fabric products, etc.
  • Think big. Use full size closet shutter doors to create free standing displays for bigger products like they've done in sample C below or to enhance the feel of your space like they've done in sample B.
  • Get creative with embellishments or signage like they've done in sample A with chalkboard paint.

August 20, 2011

Wondercraft Grand Opening

The Wondercraft's new store is open for business today! After a long night of preparation and shorting vendor goodies the new brick and mortar store located on the corner of Cesar Chavez & Comal is now open. This adorable live-work space is centered around a craft bar where you can come, make crafts and hang out with friends. The space also features a variety of local handmade products available for sale. I recommend checking out one of their two open house events for Austin Fashion Week.

Re-Fashion
Monday, August 22, 2011 from 5-9pm
At the WonderCraft's brand new brick & mortar you will be able to 'refashion' something old with a screen printed design, so bring t-shirts, bags, or any item in need of some flair and we'll screen print it for free at the new Craft Bar. We will also have some cute things to purchase if you can't make up your mind what to bring.

Get Hammered!
Thursday, August 25, 2011 from 5-9pm
Among other things you'll have the chance to make personalized metal stamped jewelry.

Both Events will feature artist Teresa Basa who will doing an encore demo of her riveting skills and metal texturing while incorporating horsehair on the pieces created. They will have a selection of chocolates from CHOCbite, specialty sodas by Rollerfeet Sodas, photobooth by Christie Mathis, free drinks and other snacks.

More info, click HERE!

August 17, 2011

Cowtown Indie Bazaar


Headed to Fortworth October 15th for Cowtown! I hope you can stop by to visit and shop new fall products from R&R Design.


August 15, 2011

Coffee & news


Coffee & news, originally uploaded by Ancalop.

I know I can't live without it!

August 10, 2011

DIY Project: Tabletop Headband Display

This is the first of several DIY projects I hope to bring to you that center around displays for your tables/tent at craft shows. I have some ideas for new displays that will enhance some of my products for this fall and once again I'm excited to share them with you all. This project is also great for home if you have a collection of headbands like me that you would like to show off or don't know how to store properly.

What you need:
  • 1.5" or larger diameter wood dowel cut to desired length (mine is 24" but you can make a smaller version if you wish to use this at home on your dresser, etc.)
  • 6" or larger round wood base with a minimum 1/2" thickness (mine is a pre-cut wood base from a craft store)
  • quilt batting
  • fabric
  • glue gun
  • duck tape
  • drill and a 2" wood screw
  • sewing machine (optional)
The first thing you want to do after you have cut your wood dowel to desired length is to attach it to the base. Find your center, pre-drill a hole through both pieces and attach with a 2" wood screw. I used some E6000 glue at the joint to help increase the strength.

After you have your base attached the next step is to wrap the dowel with batting until you meet your desired diameter. I started with hot glue at the base of the dowel but had difficulty getting the batting to stick to itself as I added layers so I used duck tape as a base to add glue and start a new layer. I ended up with a finished diameter of approximately 4.5" as shown in the right photo below. This seemed to be an appropriate diameter to fit all my headbands snugly onto the vertical stand without falling off.

The last step is to cover your headband stand in fabric. I used a scrap of cream canvas I had laying around because I like the rough texture and it matches the color theme of my shop booth. You can use almost any type or color of fabric but I recommend using something simple that compliments or shows off your headband collection.

I measured my fabric to desired length (24" plus seem allowance) and used a sewing machine to make a 4.5" tube with a circular top as shown below. Remember to leave the bottom open so you can slide it onto the headband stand. For tips on how to sew a circular pattern click HERE for basic information on how to sew a bolster pillow. Its essentially the same idea. If you don't own a sewing machine you can cut your fabric to desired length just as I did but instead use a hot glue gun to adhere it to the batting/base.

Once your done sewing your fabric cover simply slip it onto the batting/base and use a few drops of hot glue to fold and secure the fabric along the wood base. I left an additional 1" seem of fabric along the base to do this so I could tuck the fabric neatly under the batting. The few drops of glue help secure the fabric so it doesn't shift during your travels.

Add your headbands and your done! I hope you enjoyed this headband stand DIY project. I look forward to bringing you more projects centered around show/booth displays in the near future.


August 9, 2011

Shop Feature: African Grey Designs

Love this shop! I am a dog lover and Whitney Coleman from African Grey Designs hits the spot with her corky paper dolls and whimsical animal prints. Don't worry, although she specializes in French Bulldog, Boston Terrier and Pug lover products she has a variety of dog, cat and woodland creature goodies. Below are a few of my favorites, particularly the third print as I have a 7 year old Boston, Achilles, and am a fan of the lucha libre culture (did I mention its printed on eco-friendly recycled paper?). Check out all her fabulous goodies at AfricanGrey.etsy.com.


August 8, 2011

Consignment Update

TIP: Once you drop off your consignment don't forget to check up on it every couple weeks. Its your job as much as it is theirs to make sure your stuff is stocked and your displays look nice. I just popped into Atown and Sanctuary this weekend to check in and this is what I found...


August 5, 2011

Guest Blog: ReClaimed Punk

I think part of what appeals to me about the art of reclamation and up-cycling is the idea that we are not only taking items and material that would otherwise end up in landfills, rivers and oceans, or even the very air we breathe, and making use of that stuff, but we're also being self-sufficient, taking back a piece of the drive and ingenuity and energy that allowed this nation of misfits to prosper yet has been monopolized by the corporate. And the perfect theme to capture this though is, naturally, Steampunk!

Steampunk idolizes the individual, and at its brass core is a union of old and new, of creative theatricality and cold, hard function. Also, it's super cool, yeah? Following are a few of my favorite Steampunk projects over at Instructables, and what I most like about them.

Steampunk Goggles: These are not the most interesting, or coolest looking Steampunk goggles to be found on the internet. No, what I like most about these goggles is the simplicity of the project and the creativity on display. Anyone can replicate this design, and it is easy to replace bits and pieces to come up with your own cool eye wear.

Steampunk Finger Sylus: I love everything about this project. It's simple, the components are easy to find, it has a unique look, and is surprisingly functional. Plus, I can see a dozen other cool projects to make out of this, too. You can see another example of this project here.

Steampunk Portable Harddrive Case: Now to go in the other direction - There is nothing simple about this project, but dang does the finished project look cool. I love the concept, but would like to see it done with reclaimed parts rather than craft store parts, but there is no arguing the success of the design.

Steampunk USB Flash Drive: A fun, flashy piece of steam punk (sorry, couldn't help myself). Beautiful to look at and much more durable than the original plastic case. You might get weird looks when you plug it into the office PC to transfer those work files, though. But isn't that part of the fun?

Steampunk Mr. Potato Head: Tired of all this function? Time for some pure fun? Then how about this modded Mr. Potato Head. He is way cooler than what I used to play with growing up. We used actual potatoes! But maybe that's just 'cause we're from Idaho. Anyway, this is a fantastic example of the sort of creative re-construction I've been showing you, and I hope it can inspire in you some fun, fresh ideas.

Thanks to the many fine folks who contribute to Instructables, and if you're interested in Steampunk, know that this is only the tiniest tip of an enormous clockwork submersible. If you have other favorite punk projects, or have created something yourself, tell us about it in the comments.

August 4, 2011

Must Have Books for Starting a Craft Business

If you are thinking about starting a craft based business and you have questions like "How do I price my goods?", "Where is the best place to start selling my goods?", "How should I market my products?", etc. then I have a couple books I highly recommend getting first. The Handmade Marketplace by Kari Chapin and Craft Inc. by Meg Mateo Ilasco are two books that have great basic start up information for first time business owners. I didn't have the luxury to take any marketing or business classes in college so these books where great references that helped me develop a basic business plan.

Some of the useful information you will find is:

  • Branding your business and products
  • Finding the right venues to sell your products (online verses market base business)
  • Reaching out to your crafting community
  • Establishing basic business practices
  • Marketing, advertising and publicity
  • Product pricing plans
  • Finding your customer and market base
  • Expenses and budgeting
Meg Mateo Ilasco also published Craft Inc. Business Planner to compliment her book. It has great layouts and simple steps for calculating your start up costs, projecting revenue, creating a budget, marketing plans, etc. It also has additional advice from crafters & designers as well as a great list of contacts & resources. All three books can be found brand new on Amazon.com for under $12 or used for as low as $6. GOOD LUCK!


August 3, 2011

FALL FAIR: Handmade & Vintage

The Caffe Medici holds only a couple shows a year so don't miss out on this one! There is still room to be a vendor so if your interested or have questions please email Hannah at hellothethinks@gmail.com.

September 11th is my birthday so I'm looking forward to a fun afternoon hanging out with my fellow crafters. Put it on your calendars and please come by and visit!


August 2, 2011

Being a Mom...

Being a mom definitely keeps me busy! We've had a rough couple days again without a lot of sleep but we're starting to find our routine. Its definitely a struggle to find a balance between being a full-time mom and trying to run a full-time business from home. I'm just grateful to be home and know that it only gets easier from here on out. I've had some great support from family and friends so thank you all.

I'm currently working on applying to all the upcoming fall shows along with making lots of product ahead of time as its going to be a slower process with baby around. Check out the blog and my Facebook for more info on fall shows as it becomes available.

Thank you all for your patience with my shop and blog as I continue to find balance over the next couple weeks (or months!).

August 1, 2011

Blog Sponsers

Like my blog & want to be featured permanently?! I am looking for interesting handmade shops, crafters and vendors alike to feature on my blog's sidebar with a logo & link. In addition I will write up a blog featuring your shop, products, a DIY project, etc. of your choice. In return I just ask that you do the same for me! Don't like my buttons? Don't worry because I can customize something just for you.


If interested please feel free to email me at rrdesign13@gmail.com. I look forward to filling my blog with beautiful handmade shops and goodies!

ReStyle ReUse ReDesign © 2008. Template by Dicas Blogger.

TOPO