DIY Project: Tabletop Headband Display
This is the first of several DIY projects I hope to bring to you that center around displays for your tables/tent at craft shows. I have some ideas for new displays that will enhance some of my products for this fall and once again I'm excited to share them with you all. This project is also great for home if you have a collection of headbands like me that you would like to show off or don't know how to store properly.
What you need:
What you need:
- 1.5" or larger diameter wood dowel cut to desired length (mine is 24" but you can make a smaller version if you wish to use this at home on your dresser, etc.)
- 6" or larger round wood base with a minimum 1/2" thickness (mine is a pre-cut wood base from a craft store)
- quilt batting
- fabric
- glue gun
- duck tape
- drill and a 2" wood screw
- sewing machine (optional)
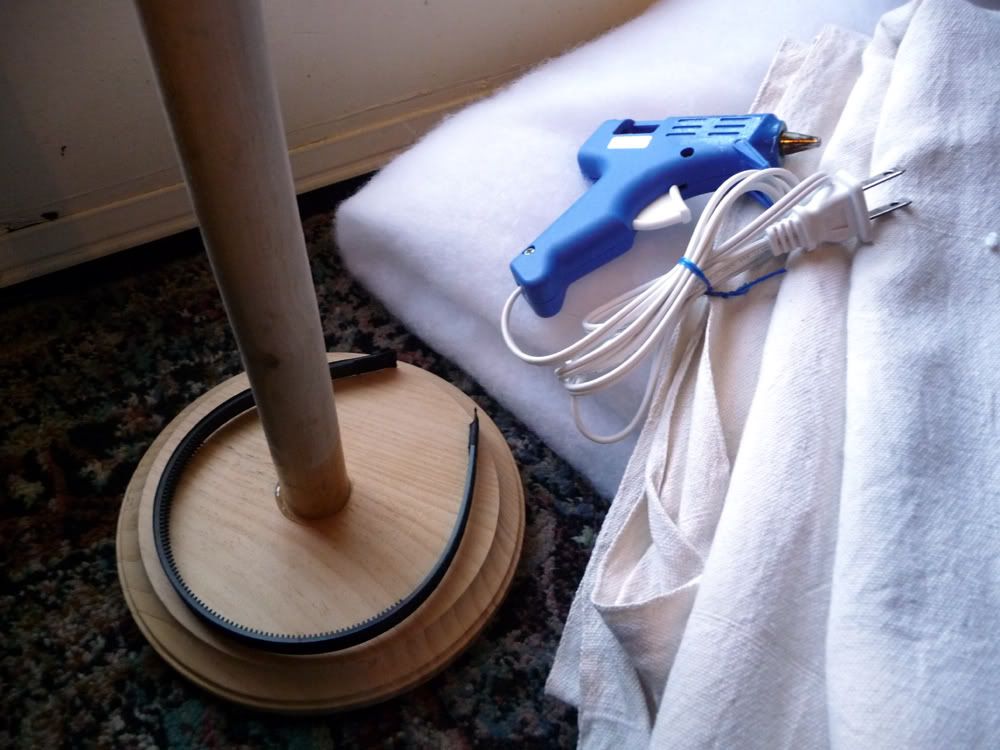 The first thing you want to do after you have cut your wood dowel to desired length is to attach it to the base. Find your center, pre-drill a hole through both pieces and attach with a 2" wood screw. I used some E6000 glue at the joint to help increase the strength.
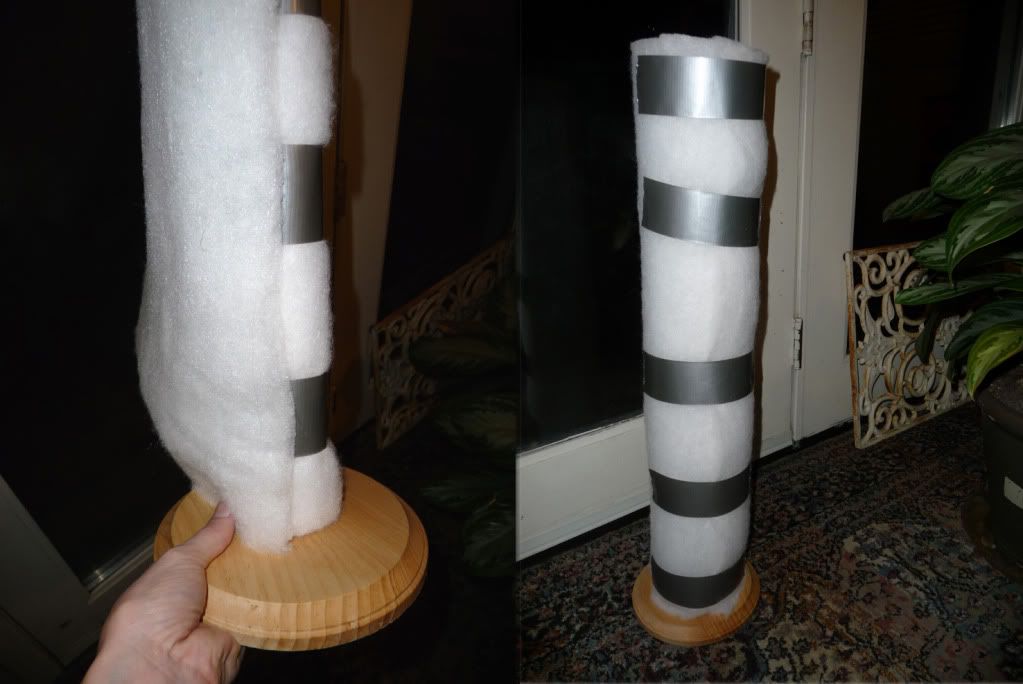
After you have your base attached the next step is to wrap the dowel with batting until you meet your desired diameter. I started with hot glue at the base of the dowel but had difficulty getting the batting to stick to itself as I added layers so I used duck tape as a base to add glue and start a new layer. I ended up with a finished diameter of approximately 4.5" as shown in the right photo below. This seemed to be an appropriate diameter to fit all my headbands snugly onto the vertical stand without falling off.
 The last step is to cover your headband stand in fabric. I used a scrap of cream canvas I had laying around because I like the rough texture and it matches the color theme of my shop booth. You can use almost any type or color of fabric but I recommend using something simple that compliments or shows off your headband collection.
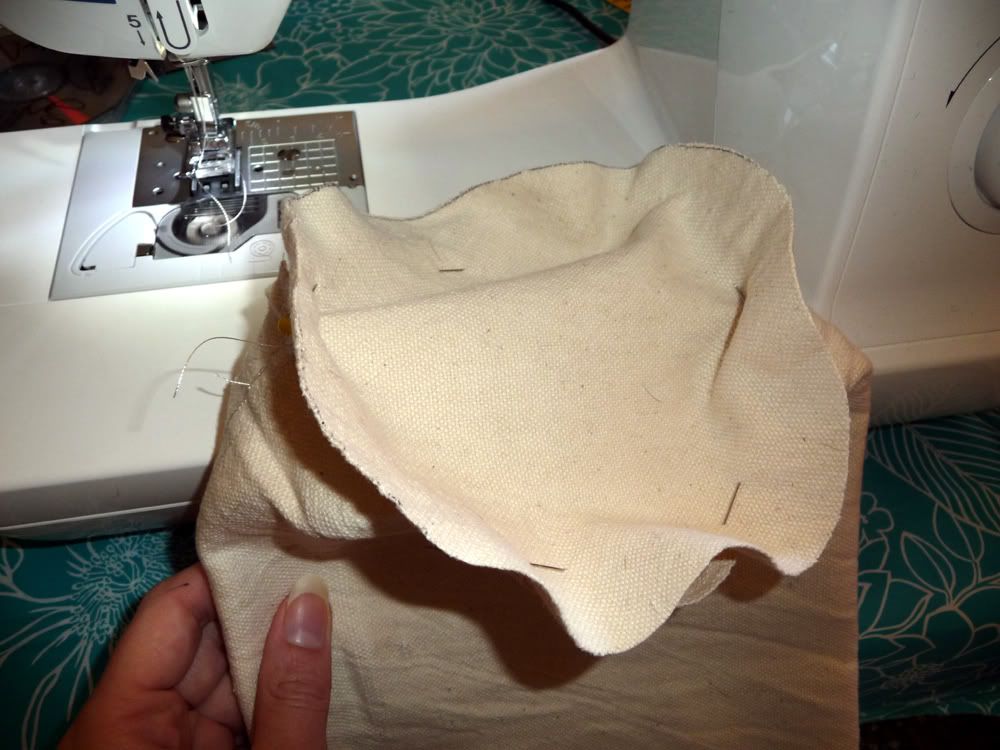
I measured my fabric to desired length (24" plus seem allowance) and used a sewing machine to make a 4.5" tube with a circular top as shown below. Remember to leave the bottom open so you can slide it onto the headband stand. For tips on how to sew a circular pattern click HERE for basic information on how to sew a bolster pillow. Its essentially the same idea. If you don't own a sewing machine you can cut your fabric to desired length just as I did but instead use a hot glue gun to adhere it to the batting/base.
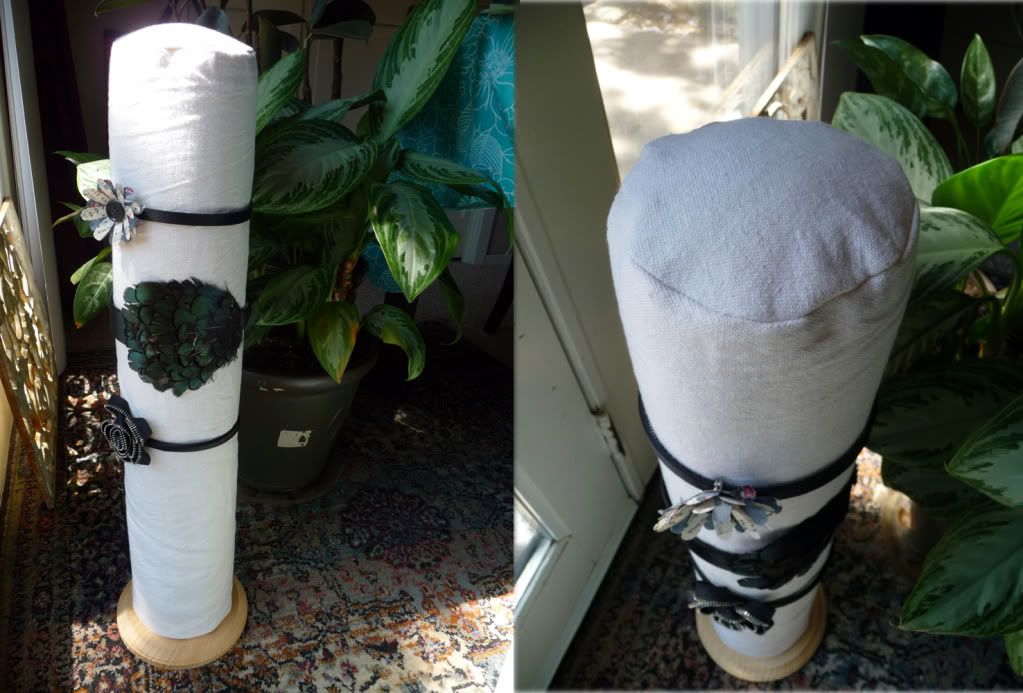
 Once your done sewing your fabric cover simply slip it onto the batting/base and use a few drops of hot glue to fold and secure the fabric along the wood base. I left an additional 1" seem of fabric along the base to do this so I could tuck the fabric neatly under the batting. The few drops of glue help secure the fabric so it doesn't shift during your travels.
Add your headbands and your done! I hope you enjoyed this headband stand DIY project. I look forward to bringing you more projects centered around show/booth displays in the near future.


Post a Comment