August 24, 2011

Fall Fair Preview

Check out this video by Hannah featuring the Fall Fair artist that will be showing at the Cafe Medici on Sept. 11th...including me! Also, visit the Facebook event by clicking HERE for more info and to see who's attending.

Handmade & Vintage Fall Fair at Caffe Medici from Hannah Stoney on Vimeo.


August 22, 2011

DIY Project: Shutter Displays Part I

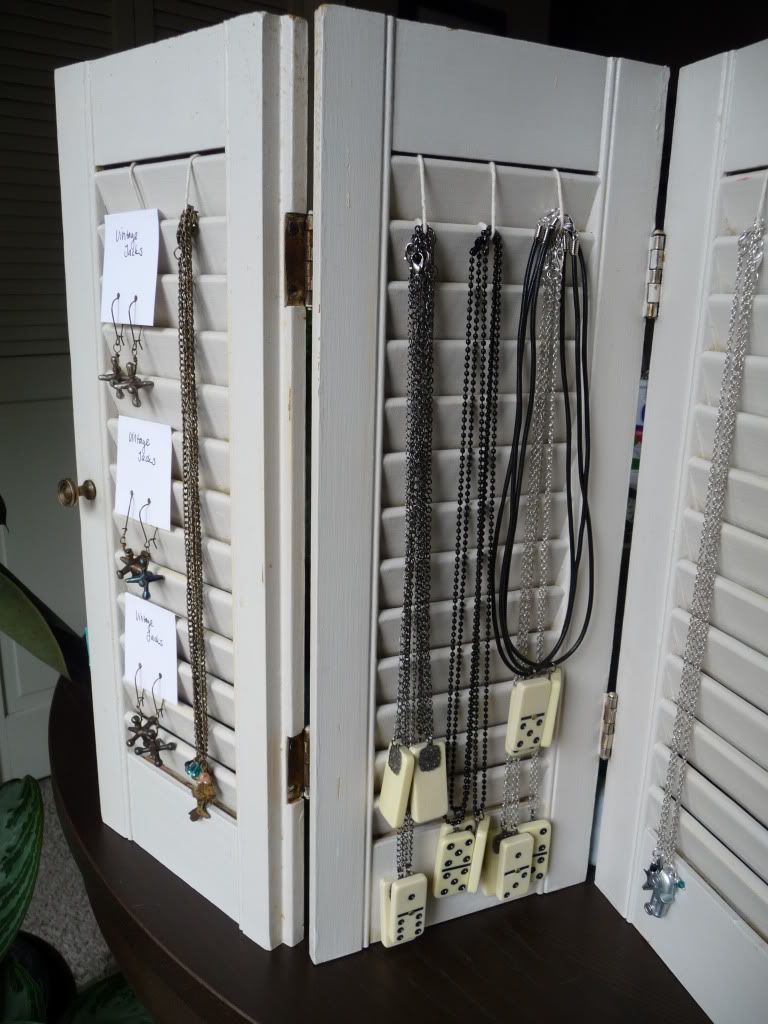
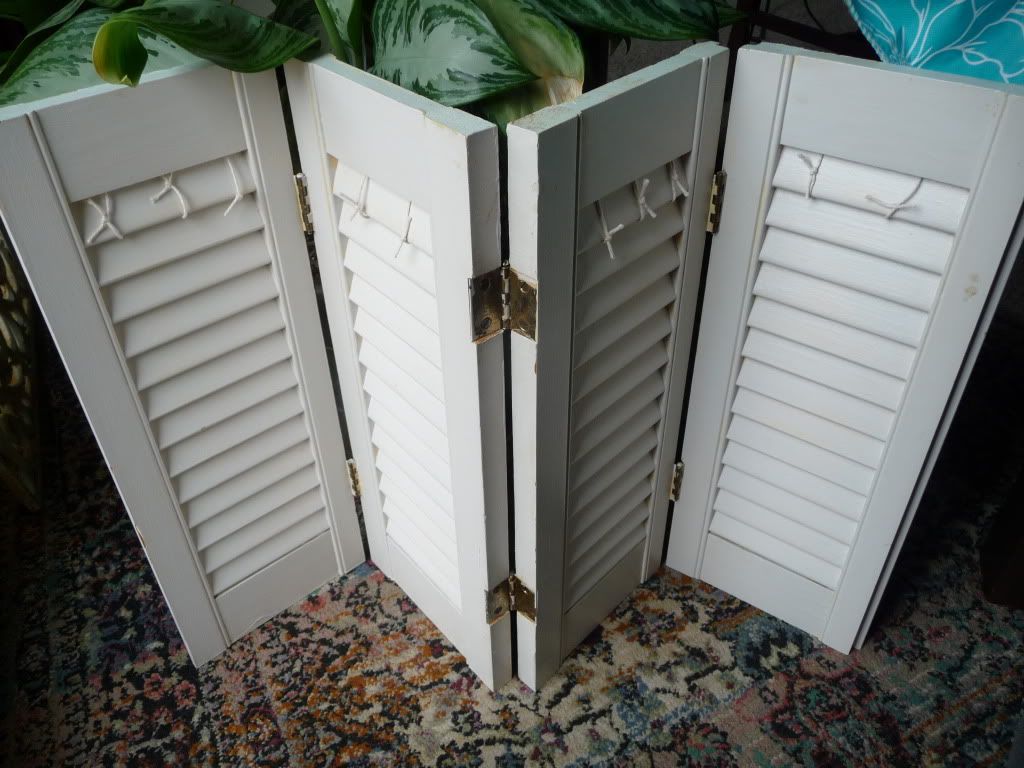
As promised here is another DIY project I just finished for my booth display. It was really easy to make and works great to display my vintage game jewelry. I inherited these two small shutters from some friends of mine and they have been sitting in the garage for two years. You can find shutters for cheap at second hand stores, yard sales, or Craigslist. You may also be lucky enough to find a good pair of shutters or shutter closet doors on the side of the road during a large item city wide dump or house renovation.

What you need:
  • 1-2 pairs of window shutters (Size depends on what you intend to display and how much. You can also use wood shutter closet doors and cut them down to make larger table top displays)
  • screw driver
  • hinges and screws (if your shutters don't already have them)
  • screw hooks or string
  • paint (as necessary to spruce up or change the color of your shutters)

To start you'll want to clean your shutters and paint them as needed. Mine came with a natural vintage white finish,which I liked, so I left them alone. However, if you aren't as lucky to find something you like as is you can create your own vintage finish or paint them bright, fun colors like the samples below. If your shutters didn't come with the original hardware you'll need to purchase the appropriate size hinges before completing the next step.

Depending on how many shutters you have (2, 3, 4, etc) you'll install the hinges to fold in the opposite direction. Example, I had two full shutters with two doors each already on hinges. I left those doors as is and put a third set of hinges on backwards to connect the two. That way it folded like an accordion as shown above. At this point you're pretty much done, all you need is a way to display your product.

I decided because I didn't want to ruin my shutters in case I wanted to use them for something else down the road I'd use string to attach my jewelry temporarily. With the string the jewelry stays in place and I can simply fold the shutters up and go. I am sewing a special bag from scrap canvas that helps keep the jewelry steady during travel. The string also allows me to have a space above for signage and pricing.

There are many things you can do to display products on shutters:
  • Install hooks and/or drawer knobs instead of string along the top and you can hang jewelry, clutches, ornaments, etc.
  • Put a wood back on your shutters, paint it to match and display note cards and/or paper goods like sample A below.
  • Put your jewelry on business cards, fold them and hang them on the shutters as I've done with the jacks in the photo above.
  • Fold your product and slip it through the shutters like they've done with the wallets in sample D below. This would also work for note cards, linens, fabric products, etc.
  • Think big. Use full size closet shutter doors to create free standing displays for bigger products like they've done in sample C below or to enhance the feel of your space like they've done in sample B.
  • Get creative with embellishments or signage like they've done in sample A with chalkboard paint.

August 20, 2011

Wondercraft Grand Opening

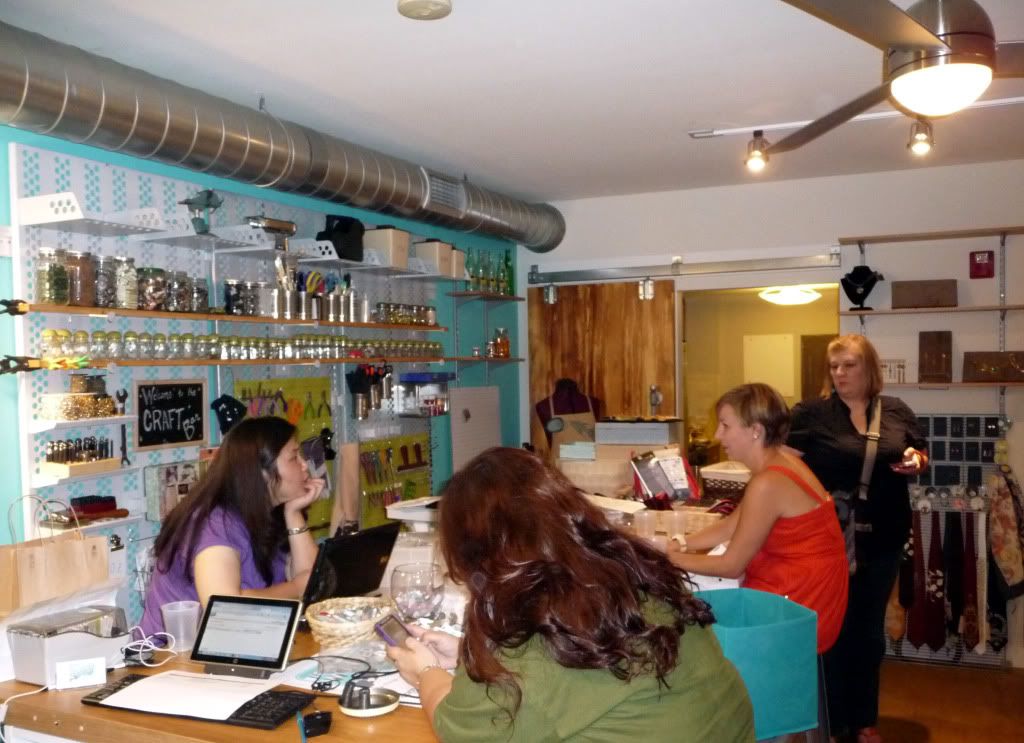
The Wondercraft's new store is open for business today! After a long night of preparation and shorting vendor goodies the new brick and mortar store located on the corner of Cesar Chavez & Comal is now open. This adorable live-work space is centered around a craft bar where you can come, make crafts and hang out with friends. The space also features a variety of local handmade products available for sale. I recommend checking out one of their two open house events for Austin Fashion Week.

Re-Fashion
Monday, August 22, 2011 from 5-9pm
At the WonderCraft's brand new brick & mortar you will be able to 'refashion' something old with a screen printed design, so bring t-shirts, bags, or any item in need of some flair and we'll screen print it for free at the new Craft Bar. We will also have some cute things to purchase if you can't make up your mind what to bring.

Get Hammered!
Thursday, August 25, 2011 from 5-9pm
Among other things you'll have the chance to make personalized metal stamped jewelry.

Both Events will feature artist Teresa Basa who will doing an encore demo of her riveting skills and metal texturing while incorporating horsehair on the pieces created. They will have a selection of chocolates from CHOCbite, specialty sodas by Rollerfeet Sodas, photobooth by Christie Mathis, free drinks and other snacks.

More info, click HERE!
August 17, 2011

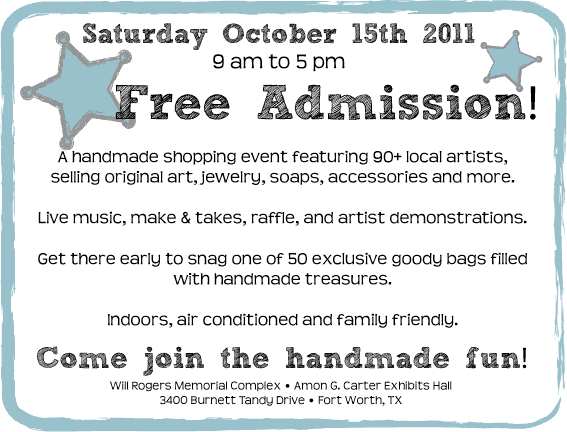
Cowtown Indie Bazaar


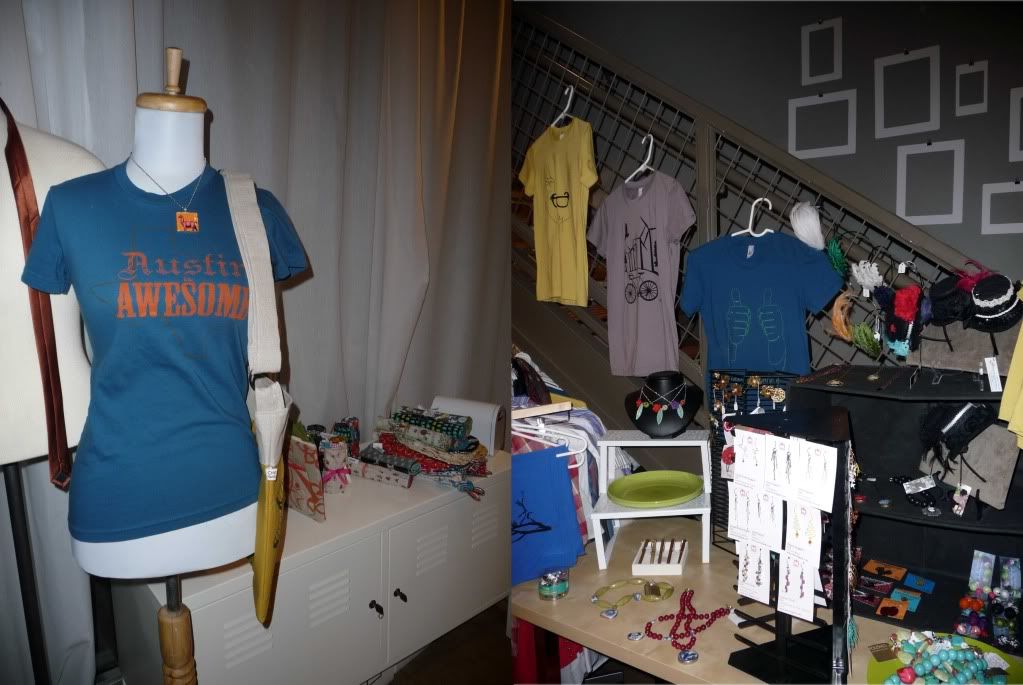
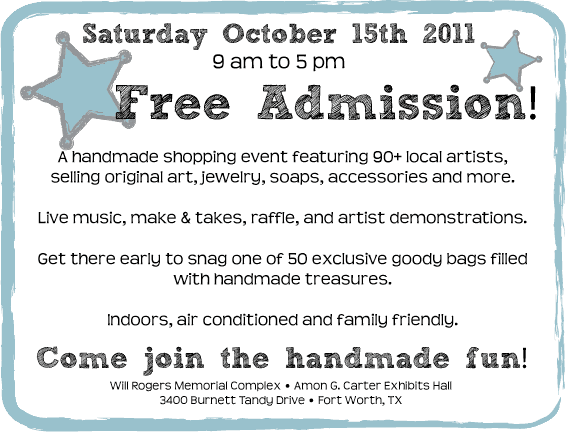
Headed to Fortworth October 15th for Cowtown! I hope you can stop by to visit and shop new fall products from R&R Design.


August 15, 2011

Coffee & news


Coffee & news, originally uploaded by Ancalop.

I know I can't live without it!

August 10, 2011

DIY Project: Tabletop Headband Display

This is the first of several DIY projects I hope to bring to you that center around displays for your tables/tent at craft shows. I have some ideas for new displays that will enhance some of my products for this fall and once again I'm excited to share them with you all. This project is also great for home if you have a collection of headbands like me that you would like to show off or don't know how to store properly.

What you need:
  • 1.5" or larger diameter wood dowel cut to desired length (mine is 24" but you can make a smaller version if you wish to use this at home on your dresser, etc.)
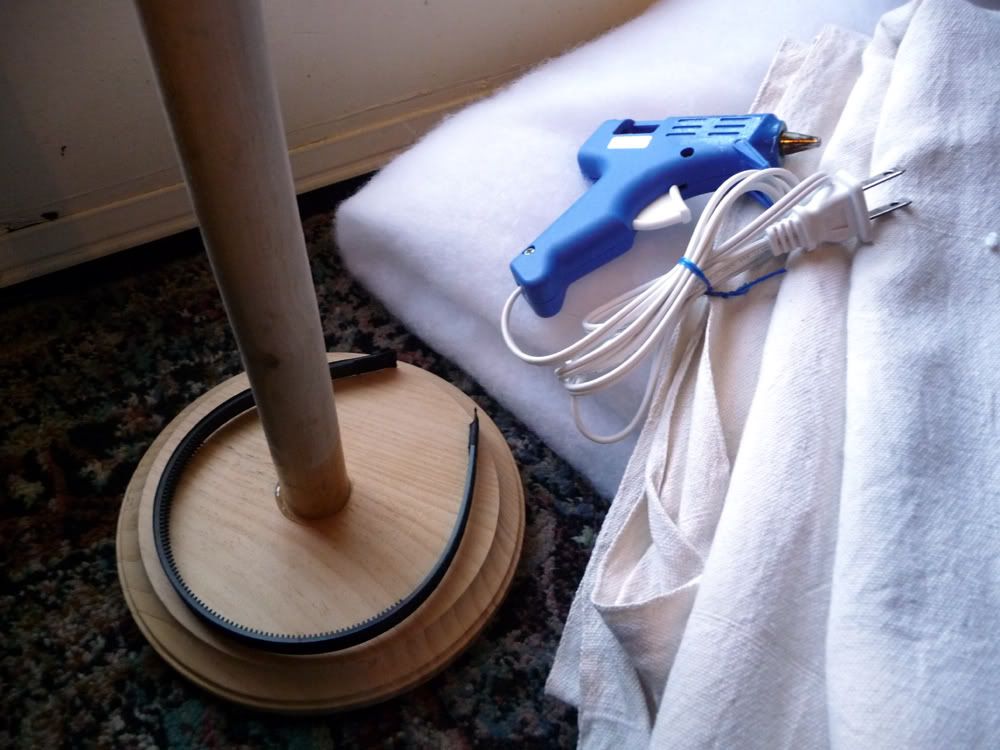
  • 6" or larger round wood base with a minimum 1/2" thickness (mine is a pre-cut wood base from a craft store)
  • quilt batting
  • fabric
  • glue gun
  • duck tape
  • drill and a 2" wood screw
  • sewing machine (optional)
The first thing you want to do after you have cut your wood dowel to desired length is to attach it to the base. Find your center, pre-drill a hole through both pieces and attach with a 2" wood screw. I used some E6000 glue at the joint to help increase the strength.

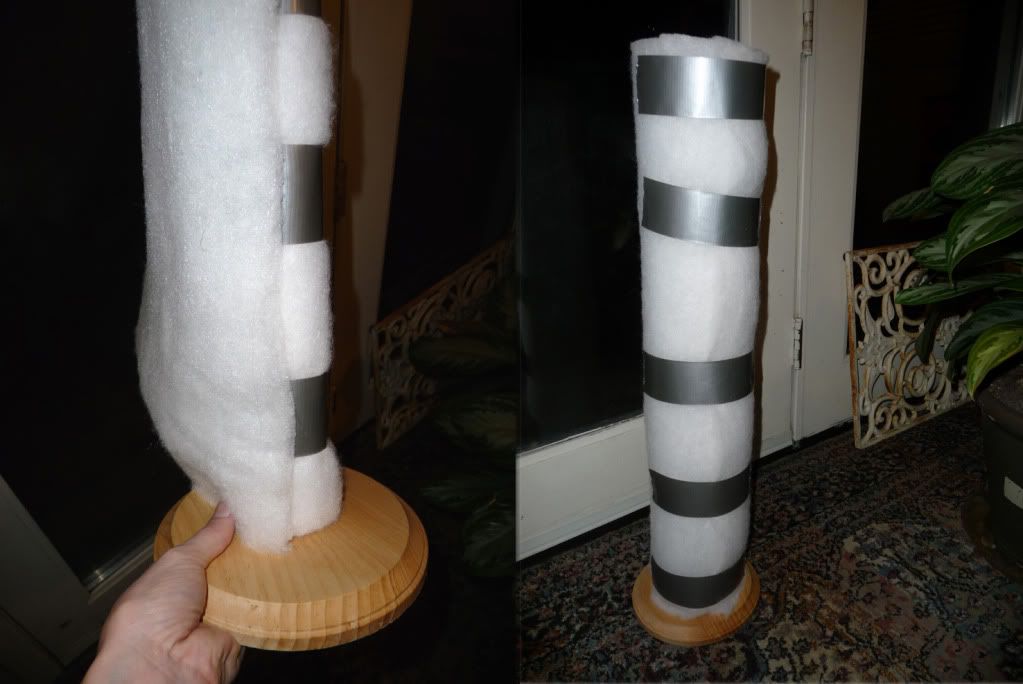
After you have your base attached the next step is to wrap the dowel with batting until you meet your desired diameter. I started with hot glue at the base of the dowel but had difficulty getting the batting to stick to itself as I added layers so I used duck tape as a base to add glue and start a new layer. I ended up with a finished diameter of approximately 4.5" as shown in the right photo below. This seemed to be an appropriate diameter to fit all my headbands snugly onto the vertical stand without falling off.

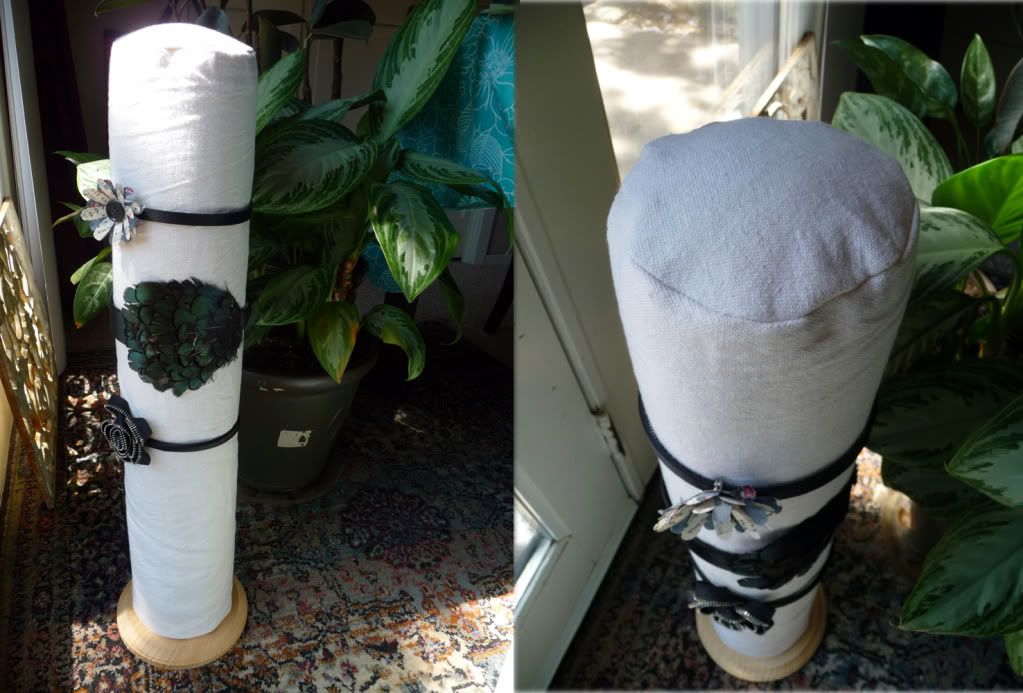
The last step is to cover your headband stand in fabric. I used a scrap of cream canvas I had laying around because I like the rough texture and it matches the color theme of my shop booth. You can use almost any type or color of fabric but I recommend using something simple that compliments or shows off your headband collection.

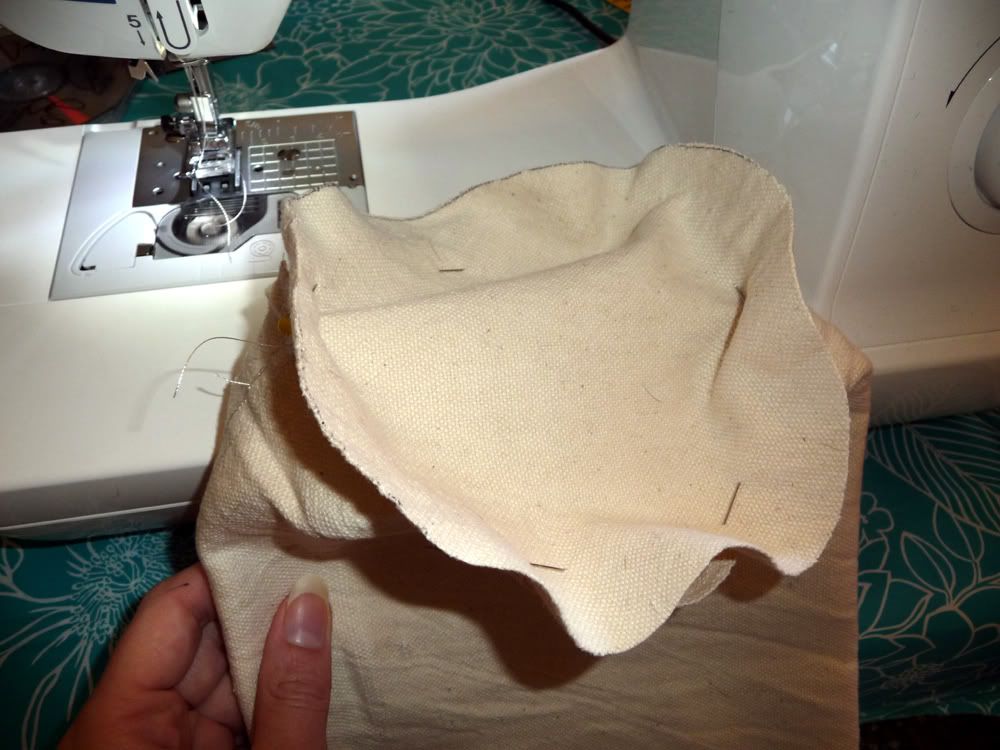
I measured my fabric to desired length (24" plus seem allowance) and used a sewing machine to make a 4.5" tube with a circular top as shown below. Remember to leave the bottom open so you can slide it onto the headband stand. For tips on how to sew a circular pattern click HERE for basic information on how to sew a bolster pillow. Its essentially the same idea. If you don't own a sewing machine you can cut your fabric to desired length just as I did but instead use a hot glue gun to adhere it to the batting/base.

Once your done sewing your fabric cover simply slip it onto the batting/base and use a few drops of hot glue to fold and secure the fabric along the wood base. I left an additional 1" seem of fabric along the base to do this so I could tuck the fabric neatly under the batting. The few drops of glue help secure the fabric so it doesn't shift during your travels.

Add your headbands and your done! I hope you enjoyed this headband stand DIY project. I look forward to bringing you more projects centered around show/booth displays in the near future.


August 9, 2011

Shop Feature: African Grey Designs

Love this shop! I am a dog lover and Whitney Coleman from African Grey Designs hits the spot with her corky paper dolls and whimsical animal prints. Don't worry, although she specializes in French Bulldog, Boston Terrier and Pug lover products she has a variety of dog, cat and woodland creature goodies. Below are a few of my favorites, particularly the third print as I have a 7 year old Boston, Achilles, and am a fan of the lucha libre culture (did I mention its printed on eco-friendly recycled paper?). Check out all her fabulous goodies at AfricanGrey.etsy.com.


ReStyle ReUse ReDesign © 2008. Template by Dicas Blogger.

TOPO