July 21, 2011

The Best of Baby DIY Projects

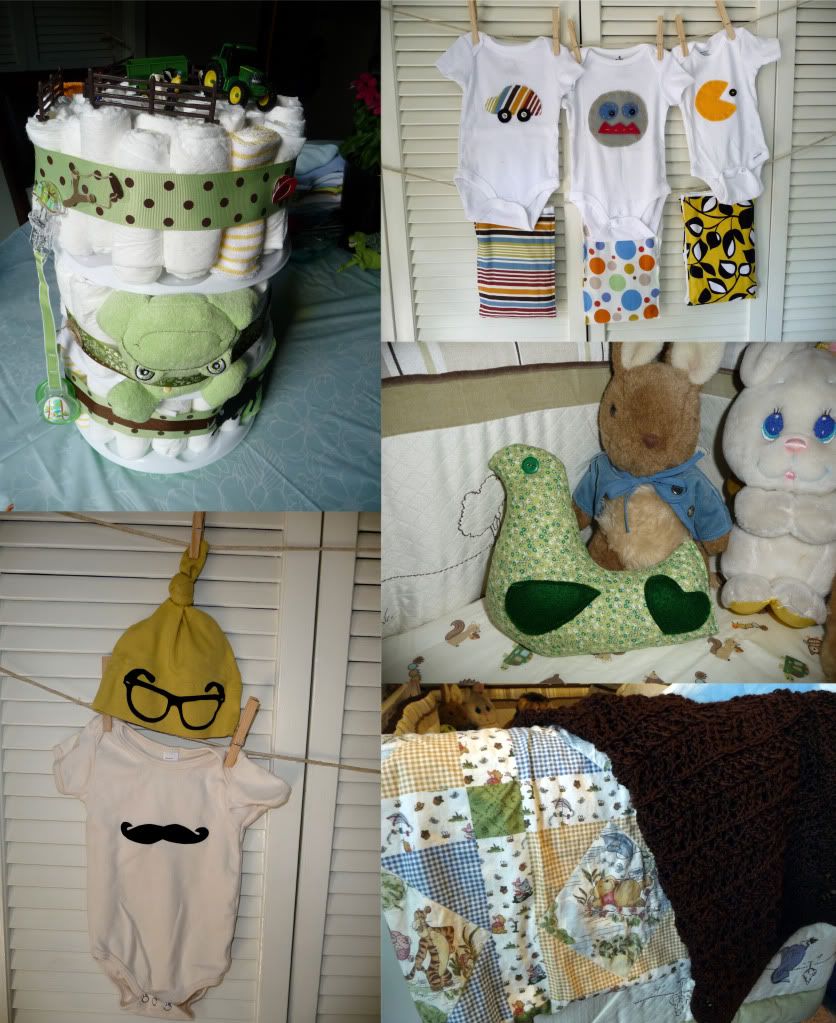
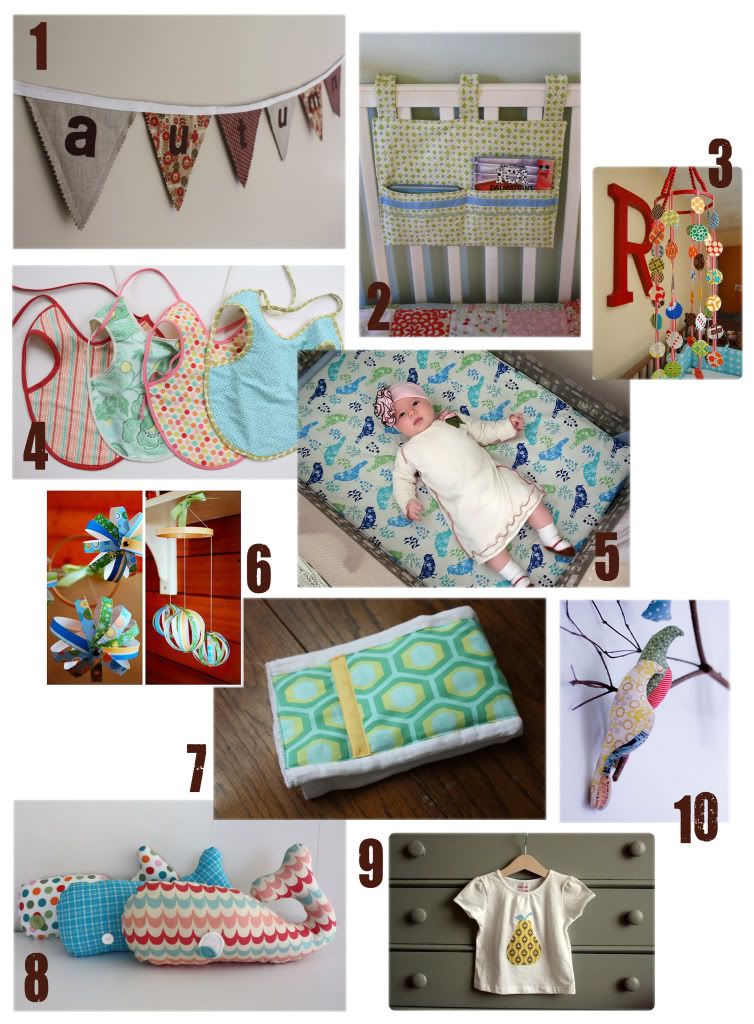
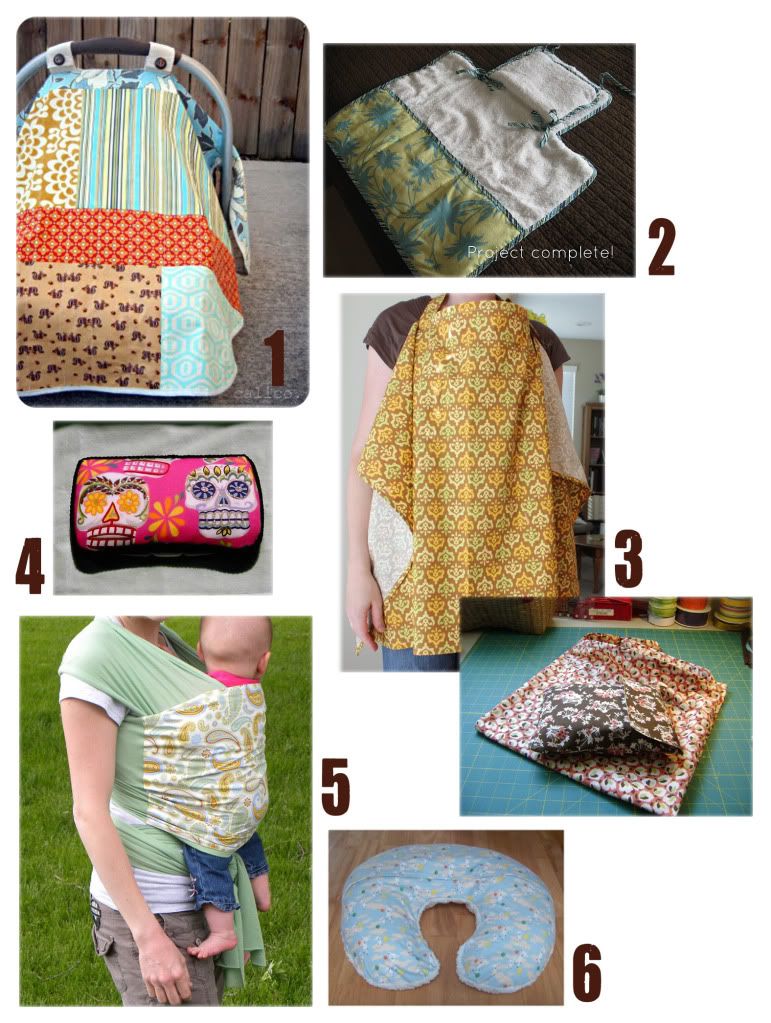
I love to sew and I strive to make my own handmade projects outside of my shop work when I find the time. While I was pregnant I collected all these amazing baby projects from other talented bloggers who have been so gracious to share their work. I hope to make a few more of these myself for baby Gabe and other friends baby showers. Please enjoy and make sure to leave a comment on the original blog if you love a project a much as I do.


July 20, 2011

A Handmade Baby Shower


Thanks to all my amazing family and friends for everything you do!

July 19, 2011

Baby Shower/Party DIY Project

Here are two adorable, easy decorations you can make for any party. I made these for our baby shower which is why they are themed with woodland creatures. You can use any kind of fun art, images or text for these projects. I got these pre-made digital images from a seller on Etsy.

PROJECT I: MINI GLASS CLIPS

Because we wanted to use real glasses for the party I wanted to make some kind of glass/wine charm that everyone could use to keep track of who's glass is who's. We don't have enough long stem glasses to use my standard wine charms so I thought it would be fun to make something that could clip or sit on the edge of any glass. These are really simple to make...

What you need:

1" round images printed on cardstock (# depends on how many you want to make. I made 20)

mini clothes pins from a craft store

1" craft punch or scissors

packaging tape

hot glue gun

Once you have your images printed the first thing you want to do is use the packaging tape to seal both sides of the paper where you are going to punch/cut out your images. Next, punch/cut out your images into 1" circles. After you have all your images ready simply hot glue them onto the tips of the mini clothes pins and voila! You can stack them neatly in a jar for storage as I've done below and when you want to use them just clip them along the edge of the jar for people to grab.


PROJECT II:
MINI GARLAND

To match my bunting and other decorations I made this cute mini garland out of the same images I used on the glass clips. Mine says "welcome" but you could make any words, phrases or images to go along with your party theme.

What you need:

1.5" images printed on cardstock (# depending on how long you want to make it. Mine is 15 circles, roughly 3.5ft long)

coordinating paper for backing (I used thin paperboard from the recycling)

1.5" and 1.75" craft punches or scissors

string

glue

Punch/cut out your 1.5" images and enough 1.75" backs to match. Tie a loop in the end of your string and start your first circle a few inches from that loop. Simply glue the string between your backing and images spacing them approximately 1-1.5" apart as you go. I went back and glued additional 1.5" images on the back of my circles to make it double sided. For an even cleaner look you could double the backing and glue the string between the backing and place your images cleanly on the fronts (this just makes the bump of the string less apparent). When you've finished gluing all your circles, cut your string and create another loop a few inches from the last circle and your done!

I had fun making both of these projects and am happy to share them with you. If you decide to make your own in the future don't forget to send a picture!
July 18, 2011

I'm Back...Again!

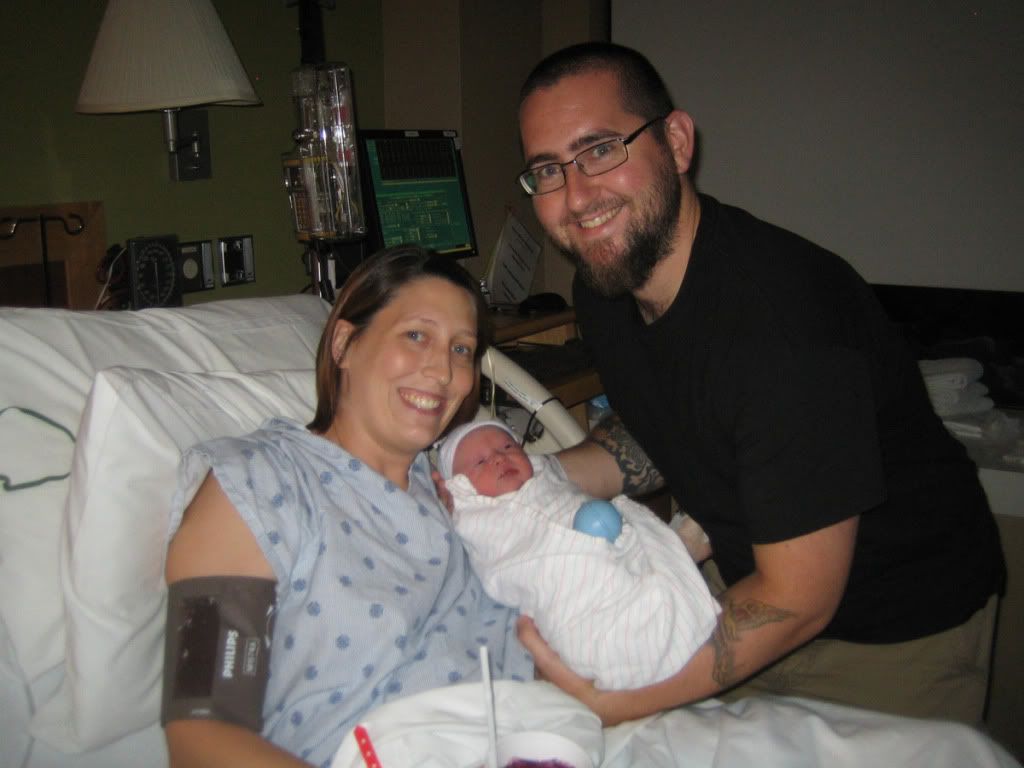
We finally welcomed our baby boy Gabriel Thomas into the world last week! We are all happy, healthy and glad to be settling back into our routine at home. I would apologize as usual for my absence on the blog but I'm hoping you'll understand. :) In honor of our little man, expect that this weeks posts will consist of everything baby; including a sneak peak at our baby room, baby diy projects, a photo montage of our adorable baby shower and more. Enjoy your week!

July 8, 2011

Shop Feature: Berkley Illustration


So I've been dying to share these beautiful illustrations from Berkley Illustration on Etsy. They happened to be a fellow vendor at the Renegade Craft Fair this year but my love for their corky animal designs started when I first saw them there last year. I have to admit I don't actually own one of their prints yet but mainly because I can't make up my mind they are all so fun!

Their specialty is their animal portraits; they have every animal imaginable from the ones you see below to a jackrabbit, a panda, and even a T-Rex. They have expanded their shop to include other categories and designs including The Mighty Ocean (my favorite print below), Creatures and Friends, Kenny and Superheros, and even some limited edition and original prints.

I highly suggest checking out their shop on Etsy and even better if your in the San Francisco or Los Angeles area catch them at one of the Renegade Craft Shows coming up this month.


Become a fan on Facebook!


Click HERE and become a fan of R&R Design on Facebook for daily updates on new products, market hours, events, shop info and more!

July 7, 2011

Thrify Thursday: Vintage Luggage

I LOVE vintage luggage! I have at least eight pieces in my current collection and I always have my eye open for more. I use them in my shop for displays, I use them to store quilts, supplies, and more all over my home. This fun set came to me as a gift all the way from Idaho and like most thrifty finds they were a little dirty and in need of some loving care.


I usually try and keep the integrity of the original piece in tack but in the case of the small travel case I thought it necessary to replace the lining. I would normally replace it with a vintage fabric in a fun pattern but I decided I'd try a little mod podge with old maps. After I removed the old lining and cleaned up the piece I simply tore out familiar sections from different maps of the northwest (seemed suitable since the luggage came from my home in Idaho) and layered them with glue along the bottom and sides of the interior. After everything dried I went back and put a layer of mod podge over all the maps for a nice finish.


I can't be more pleased with how it turned out! I enjoyed the look of the old maps so much that I took one of the larger pieces of luggage that had the silk coming apart in the lid and replaced it with a map collage as well. I now use the matching set as displays for my products at markets and shows.


Thrifty Tip: I have never paid more than $12 for a piece of vintage luggage including my HUGE leather Samsonite that's in great condition. You can find lots of beautiful pieces in antique stores on a regular basis but I recommend sticking to second hand stores and flea markets. It may take a little longer to find what your looking for but its way more fun and gratifying when you find that perfect piece for under $20.

ReStyle ReUse ReDesign © 2008. Template by Dicas Blogger.

TOPO